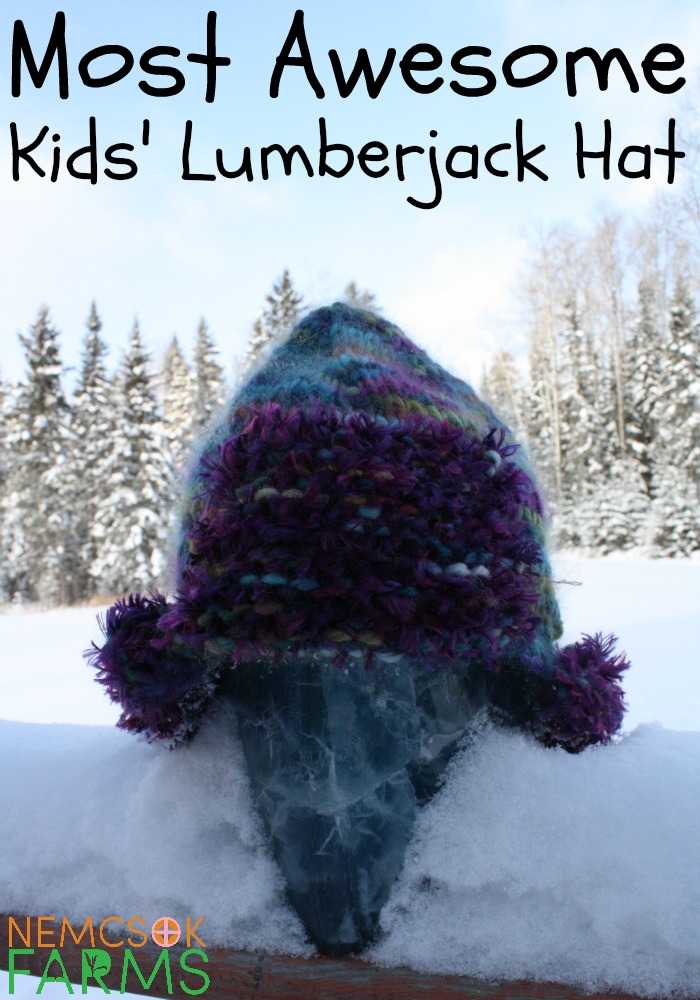
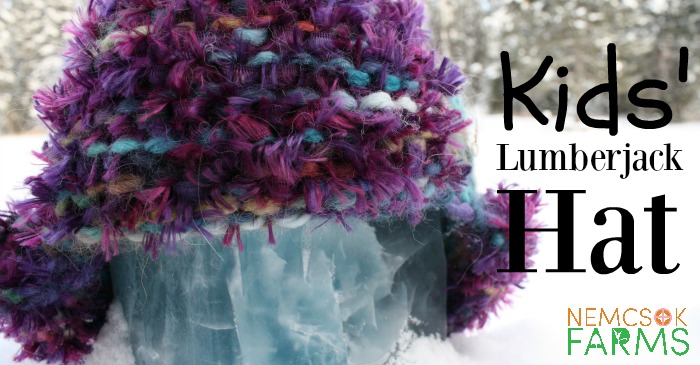
This is not your grandpa’s lumberjack hat, that’s for sure! Knit with 100% Baby Alpaca, and garnished with a fun fur, this Most Awesome Kid’s Lumberjack Hat is warm, and so sweet!
This post contains affiliate links for your convenience
If you’re new to knitting, you might want to start with the Quick and Easy Kid’s Hat. This patterns uses the same stitches, a basic knit stitch, a purl stitch, plus an increase. I can help you out with those if you’d like, just send me an email, or drop me a message on facebook.
Most Awesome Kid’s Lumberjack Hat
So, what is it about this hat that makes it the most awesome? First, it is made with love and quality materials for my biggest of little helpers. I used 100% Baby Alpaca Chunky Yarn for the entire hat, plus I added Boa Yarn-Parrot
when working the front and back flaps. The result is a super soft, warm hat, that is exceptionally cute.
It works up quick, is relatively simple to make, and it is really really cute! I can’t really speak to being fashionable, as you may recall from my epic adventures with my skater coat, but in my mind this hat is definitely trend setting.
I have made this version worked flat, but it could totally be worked in the round. Again, drop me a line if you’d like help converting this pattern to a knit in the round version, I’m here to help!
Notes: ‘inc in next st’ – knit in the front of the stitch, and leave on the needle, then knit into the back of the same stitch, then remove it from the needle.
Materials
- Chuncky Alpaca Yarn
- Boa Yarn
- size 7mm knitting needles
- scissors
- darning needle
The Pattern
Crown and Rise
Cast on 12 sts
Row 1: Purl
Row 2: K1, inc in next st;, repeat ( 18 sts)
Row 3 and all other odd number (wrong side) rows until working the flap: Purl
Row 4: K2, inc in next st; repeat (24 sts)
Row 6: K3, inc in next st; repeat (30 sts)
Row 8: K4, inc in next st; repeat (36 sts)
Row 10: K5, inc in next st; repeat (42 sts)
Row 12: K6, inc in next st; repeat (48 sts)
Row 14: K7, inc in next st; repeat (54 sts)
Work even until the hat measures 8″ from your cast on stitches, finishing with a purl row.
Front Flap
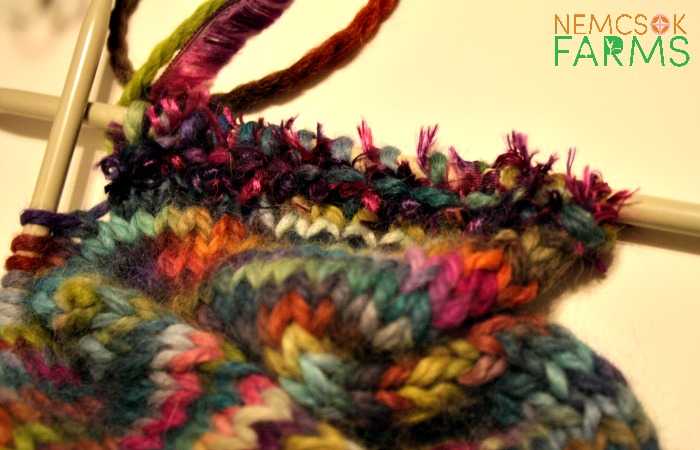
Add the boa yarn, and using the boa and the aplaca held together purl the first 16 sts on the needle.
Turn, and continue to work in garter sts (knit every row) until flap measures 3″
Bind off, and fasten last stitch, leaving a long end.
Use this long end to sew the brim flat to the front of the hat, as shown in the pictures.
Back Flap
Continue working with both the alpaca and the boa yarn held together,
purl the remaining 38 sts.
next row: purl
Continue in stockinette stitch – knitting on the right side, purling on the wrong side, until the flap measures 2 inches. Bind off, and fasten the end.
Sew the seam from the crown to the where you started working the flaps, and you have yourself one adorable, and very chic Kid’s Lumberjack Hat
click on the image below to get the pattern in printable pdf. format
Why not sign up for our newsletter? Stay in the loop and in the know
