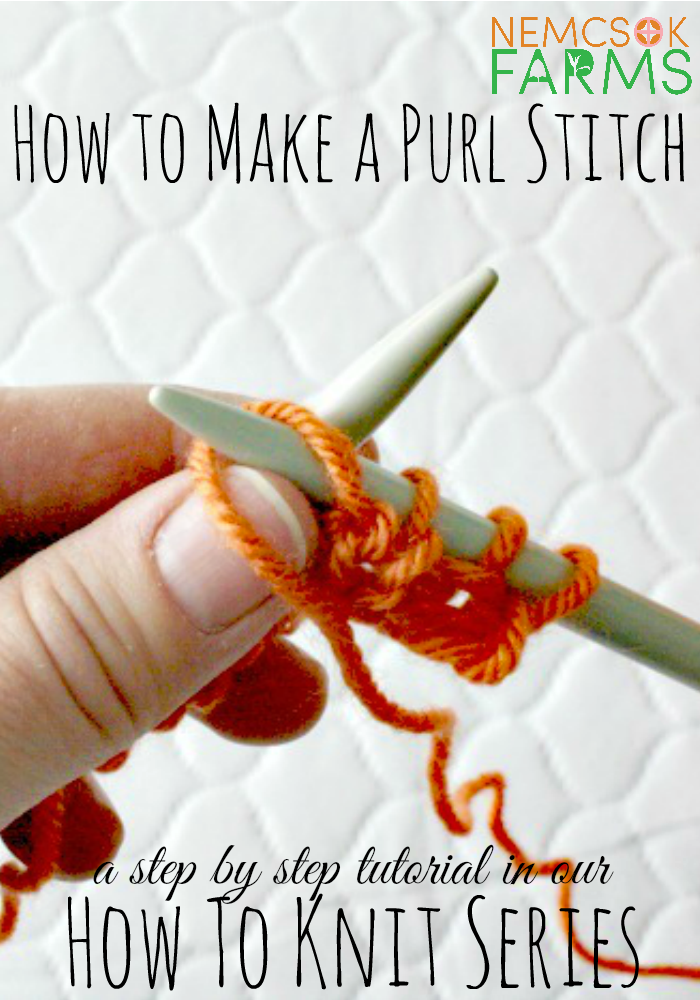
Add a new dimension to your knitting with the Purl Stitch. Although You can technically complete a project without using the purl stitch, if you want to add elasticity to your project, you need to use the purl stitch. But, fear not my friends, I’ll show you how to do it.
Adding Depth and Shape
We’ve previously covered Building a Foundation with Casting ON, and Creating the Structure with the Knit Stitch, so what comes next naturally is how to add shape and depth to your knitting. You need to know how to do the Purl Stitch, in order to create elastic ribbing, such as in cuffs of sweaters, etc. and you need to know how to do the Purl Stitch if you want to create that smooth surface that you see on the ‘right side’ of many knitted pieces. Also, there is a stitch out there called the Moss or Seed Stitch that produces and amazing textured piece, and yep – you need to know how to purl. In future articles we’ll explore the various combinations of knit / purl stitches, and until then, you need to work on mastering the purl stitch.
Beware, the Purl Stitch is what I had the hardest time learning! It took going over it again and again and again. But now I have it figured out entirely, and I’m here to show you how.
How to Make a Purl Stitch
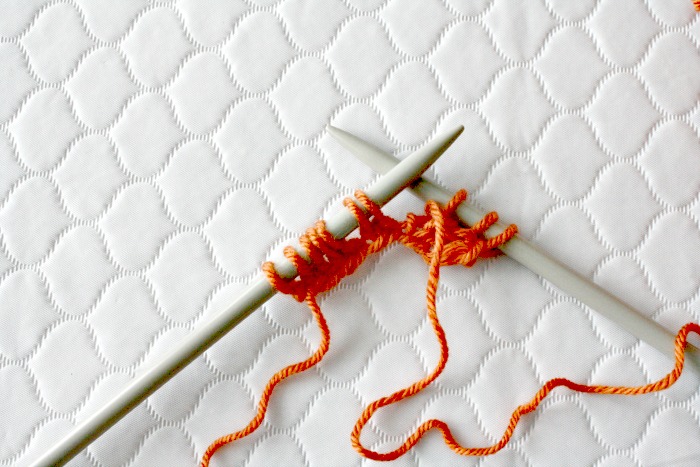
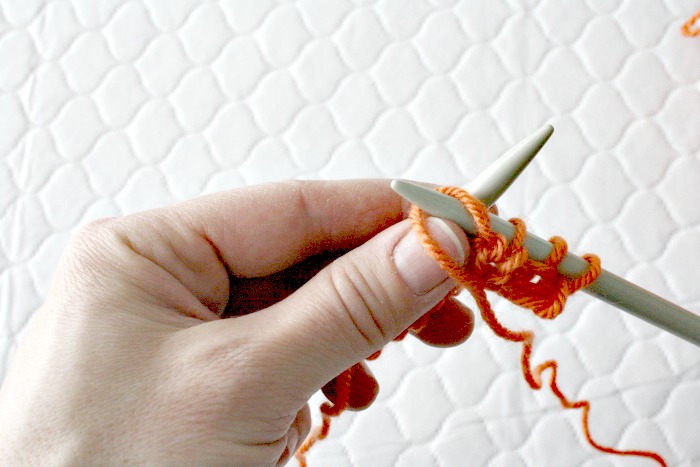
- Hold the needle with the cast on stitches in your left hand. The old stitches are the ones on the left, and you will be making new stitches with the right needle.
- With the needle in your right hand, and the working yarn in front of your needles, insert the right needle in to the stitch you are going to purl from right to left.
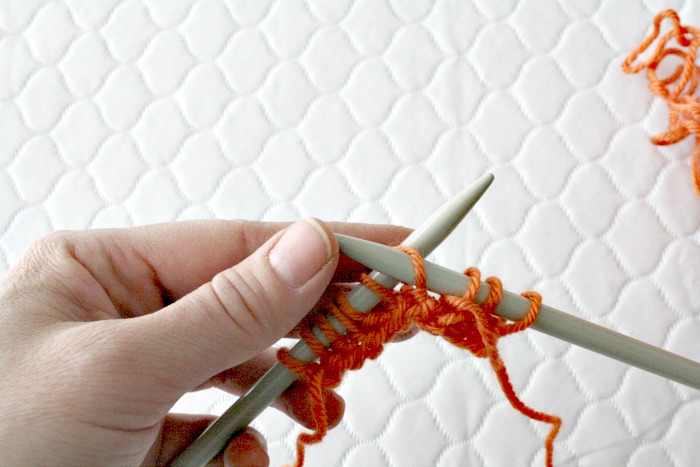
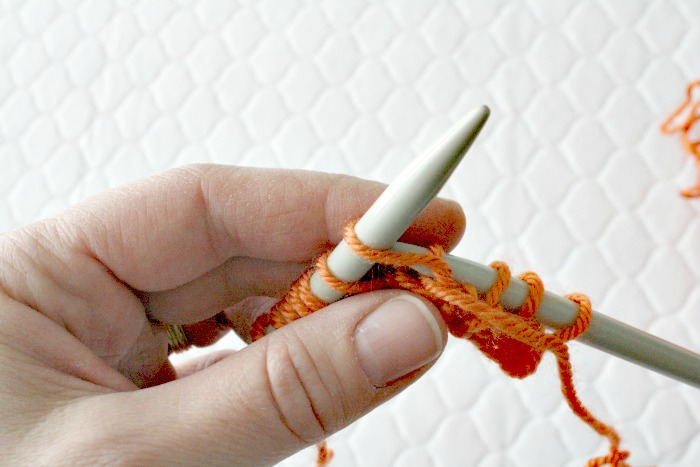
- Bring the working yarn between the needles from right to left and around the right needle. This will be your new stitch.
- Move the right needle, with the new stitch on it, through the old stitch and away from you.

- Slip the old stitch off the needle, and tighten your new stitch.
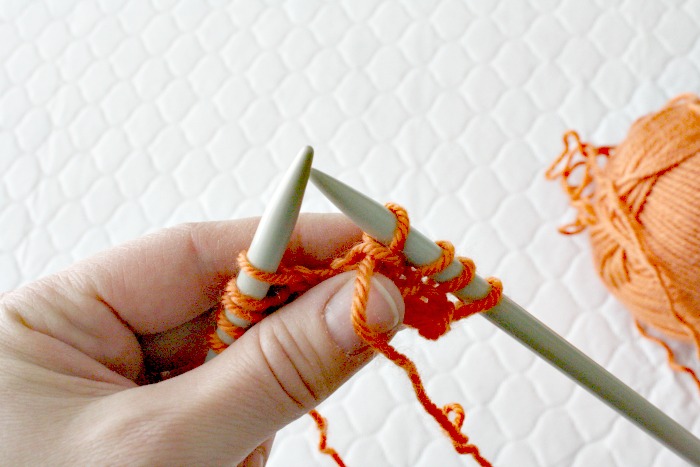
- Tighten your working yarn just a little to secure your new stitch.
PRACTICE THE PURL STITCH
This DIY Infinity Scarf is the perfect pattern to practice what you have learned so far. You may also want to check out this Kid’s Pom Pom Hat that uses the fundamentals we have worked on so far, plus some really simple decreasing. I say go ahead and try it! You may surprise yourself – and don’t forget, I’m happy to help you along the way.
If you’re looking for more – join our group Knitting Community on Facebook – a community of people who love to knit.
We’d love to have you!
And you’re totally ready to Knit Some Awesome Head Gear. Get my Ebook
Super Duper Knit Hats for Beginners
And NOW – you’ll need to BIND OFF. And with that, my friend, you are a Knitting Superstar.

0 thoughts on “HOW TO KNIT PART 3: PURL STITCH”