As soon as you master ‘casting on’, you’re going to want to move on to the knit stitch, and as soon as you get that down pat, you’re going to want to create something fabulous. Check out this ebook I published for Super Duper Knit Hat ( Kindle Version ) Patterns. It’s wonderful, you’re going to love it.
Super Duper Knit Hats for Beginners

If you’re already knitting, go ahead and give the book a try! If you are just starting out or looking for a refresher, THIS IS EXACTLY WHERE YOU NEED TO BE
My knitting journey starts long ago in a far-away place. With little money, lots of time, and an entire slew of people I wanted to get gifts for come the impending Holiday Season, it was inevitable. I had always had an interest in knitting, but could never quite grasp it.
Armed with a how-to book, and Google, I am now a knitting teacher, pattern designer and all around yarn enthusiast. And I’m here to help.
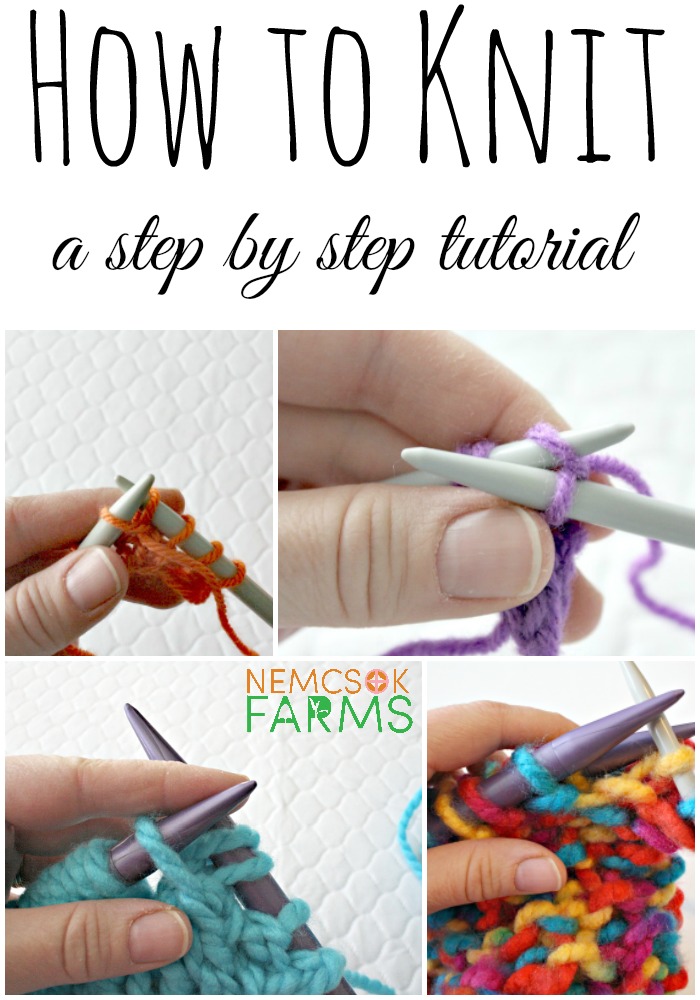
This article focuses on the technique casting on. Click on these links for the knit stitch, the purl stitch and how to bind off.
For your convenience, this post contains affiliate links. As an Amazon Associate I earn from qualifying purchases.
Building a Foundation
Like anything you build in life, you need to start with a foundation.
Good to Know
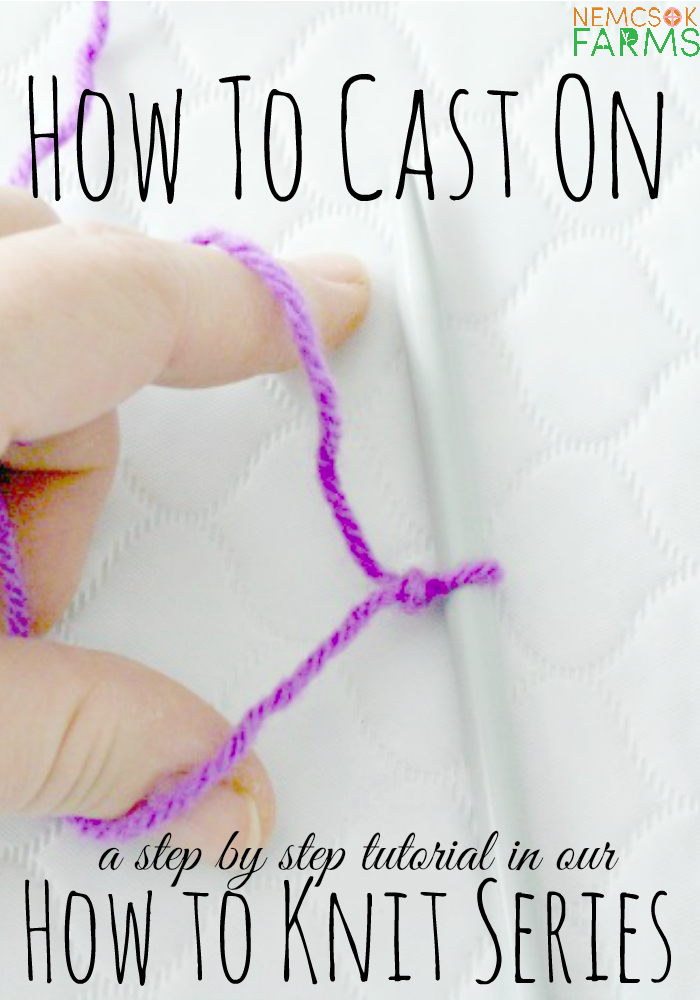
Casting On
Before you can actually knit, you need a place to start. There are several ways to cast on, although I totally prefer the slingshot method, it seems to be the most useful, and it sounds pretty cool.
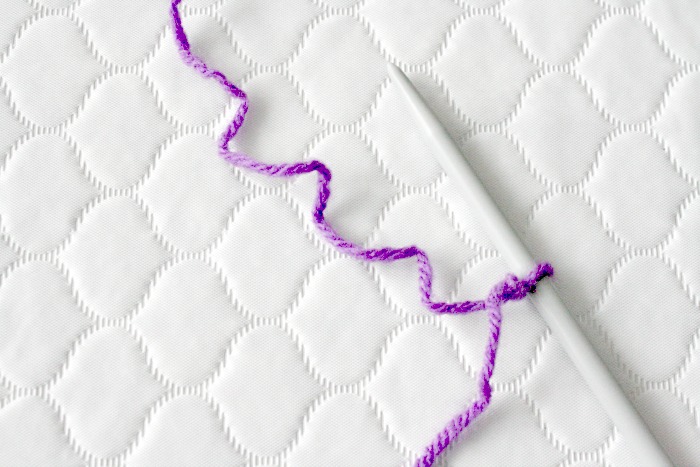
- Pull a length of yarn from the skein. If you’re using a worsted weight yarn, and 5mm knitting needles, you can usually count on needing one inch of yarn per stitch when casting on. Make a slip knot, place it on the needle, and pull the yarn ends to tighten it. This counts as your first cast on stitch
- Hold the needled with the slip knot in your right hand with your index finger resting on the slip knot.
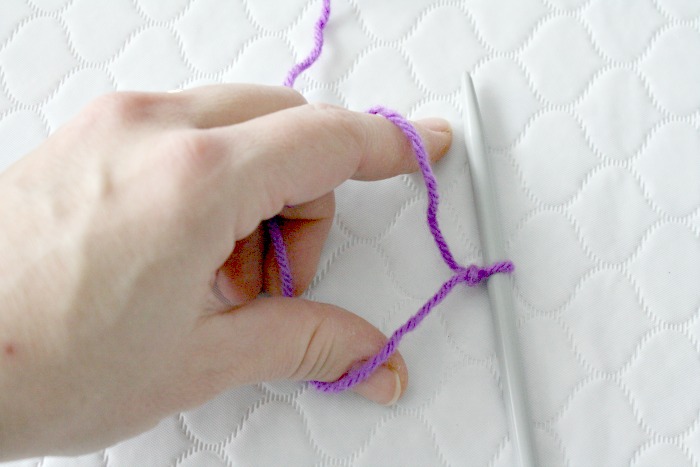
- Place the short end of yarn over your left thumb, and bring the working yarn up and over your left index finger. Hold both yarn ends in your left palm with your three remaining fingers. Like a sling shot.
- Insert tip of needle under first strand of yarn on left thumb
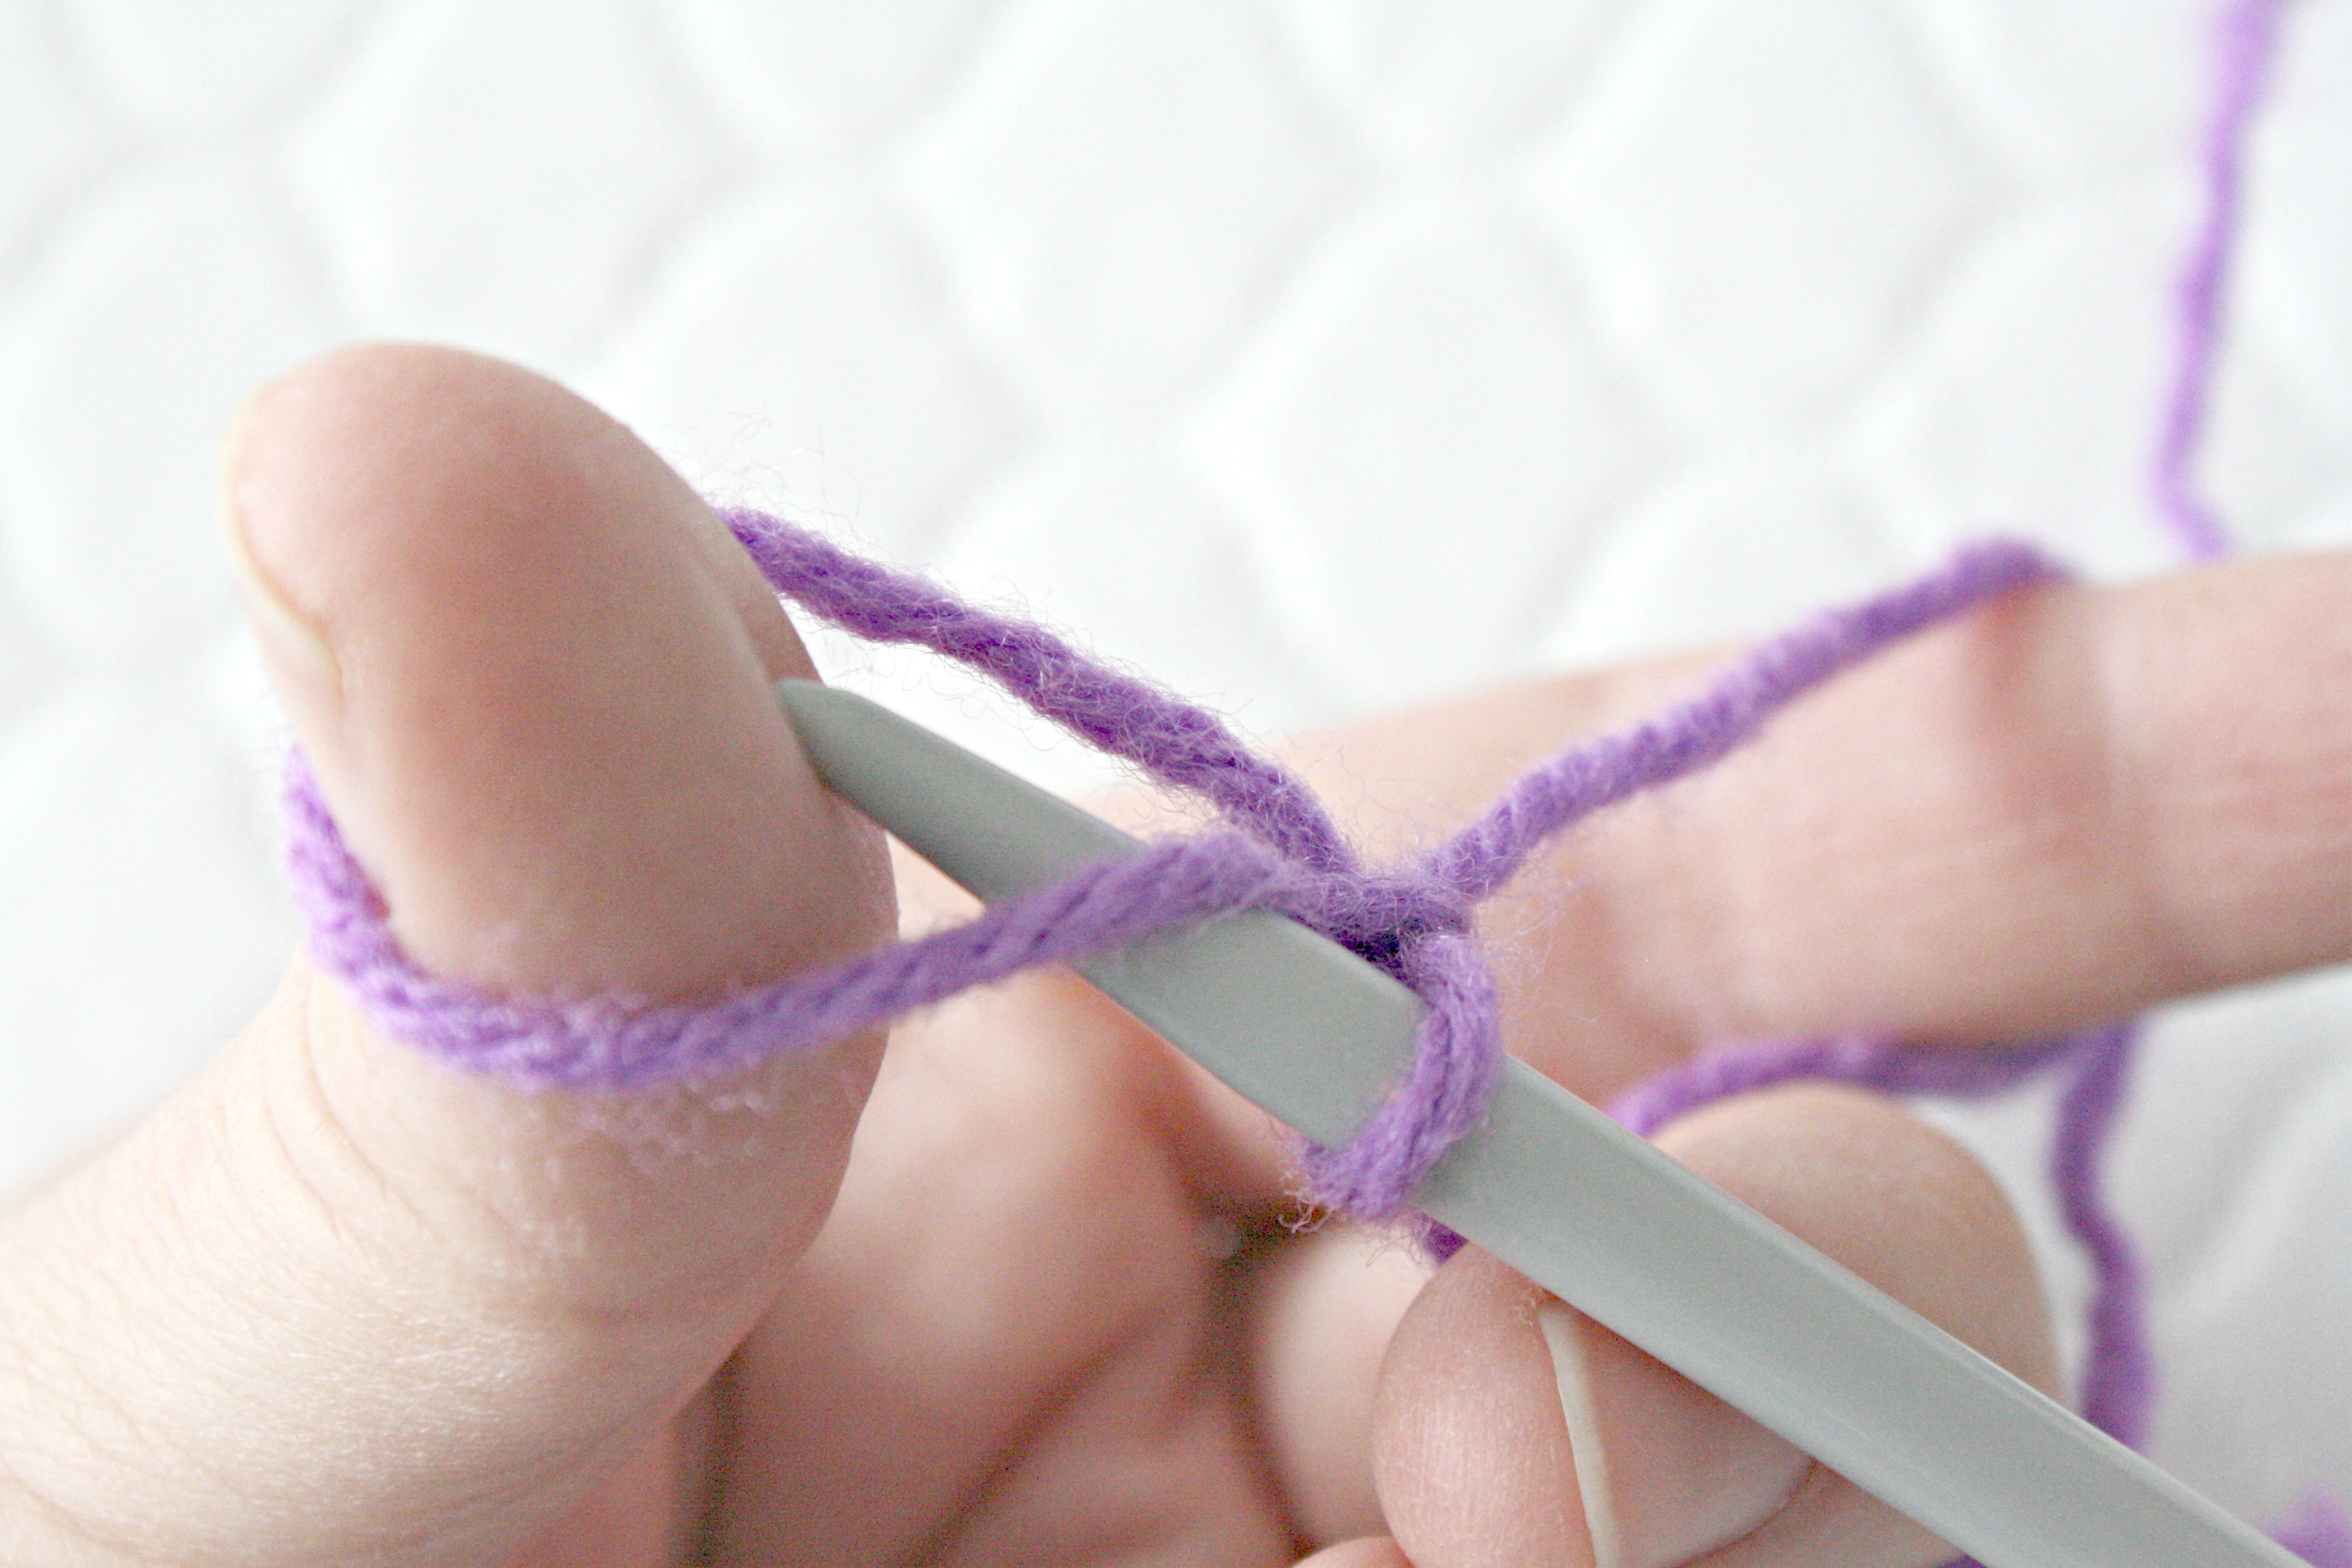
- Bring needle over and around the first strand on your index finger

- Pull the yarn and needle down through the loop on your thumb
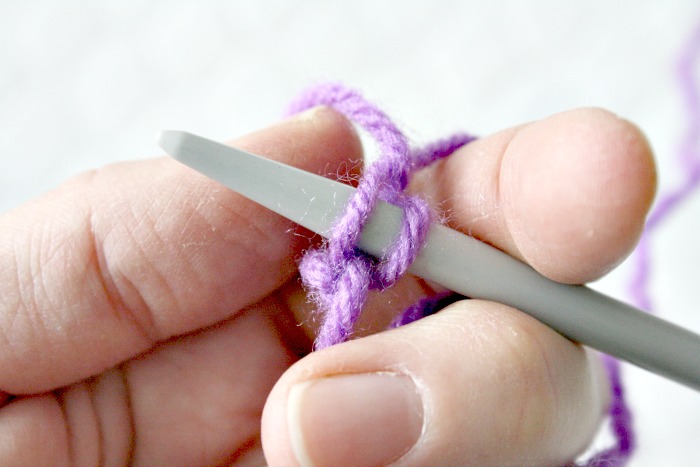
- Slip your thumb out of the loop, then bring your thumb toward you, catching the yarn end to form a new loop on your thumb and gently pulling to tighten the new stitch on the needle.
- Repeat steps 3-7 until you have the required amount of stitches on your needle.
Practice How to Cast On
With these patterns that are perfect for beginners, like the Kid’s Pom Pom Hat, or the DIY Rainbow Scarf. Once you’ve mastered casting on, or atleast become comfortable with it, move on to the Knit Stitch.