You just know this is going to be super useful, right?
If you recall I recently told you how to go about making your own tassels, as they are a really fun and easy way to add extra decoration to your projects. Think hats, throw pillows, etc.
An I-Cord, even though it has a very boring name, is really quite brilliant. Their original name, ‘stay lace’ sounds a tad more interesting, but even so… the names just don’t do these little delights any justice. From loops on towels and trivets to applied edging for smooth finishes to really fun hat toppers, I-cords have many many uses and applications. And they are so. Easy. To. Make.
Make an I-Cord
I’m going to tell you step by step how to make one. I’ve included a tutorial in pictures, and if you have any questions at all, feel free to drop a question in the comments, and I’ll get back to you as quick as I can. I’m here to help.
Once you get the hang of it, it is really mindless knitting, and you’ll be inspired to see all the things you can do with a simple I-cord. Ready? Of course you are
Materials
- two double pointed needles, of any size. In this tutorial I used two 6 mm dpns ( double pointed needles)
- yarn of any colour and any weight. In this tutorial I used a worsted weight yarn ( #4) in purple, from my stash. I think if you take a look around my site here, I’ve got quite a bit of purple I should really switch that up soon I guess, but I can’t let it go to waste. Right?

Directions
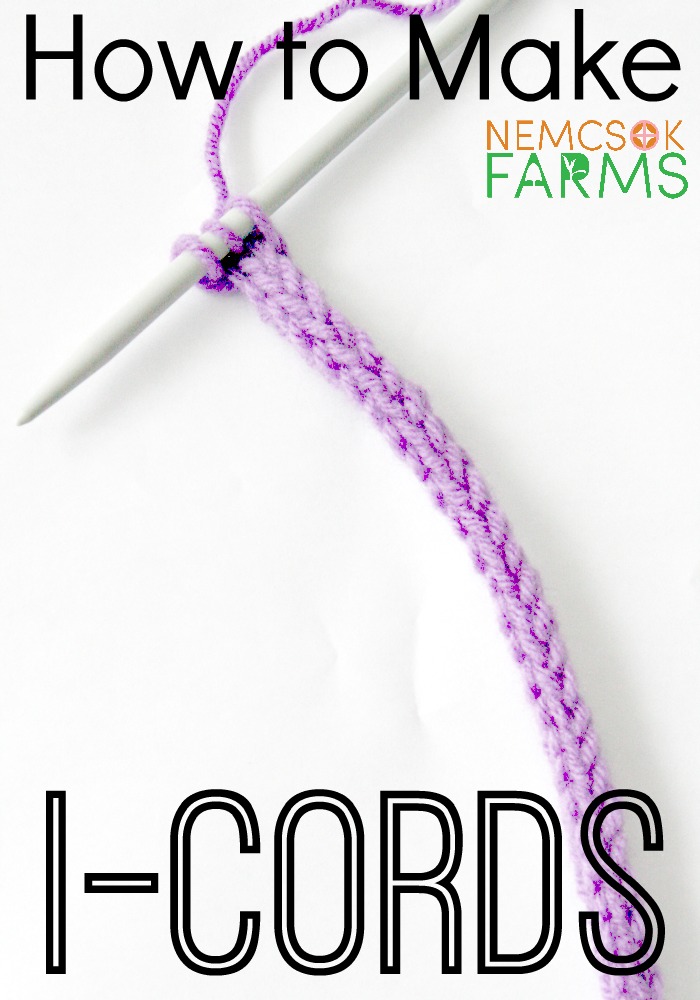
- Cast on three stitches to one of the dpns. I pretty much always use the sling shot cast on, and I’ve got an excellent tutorial on that here but again, drop me a line if you’re having trouble
- Slide those three stitches down to the other end of the needle. That’s right. Just scootch them on down.
- Using the other dpn, knit those three stitches off of the left needle, by bringing your working yarn from the last cast on stitch, around to the back of your right hand needle.
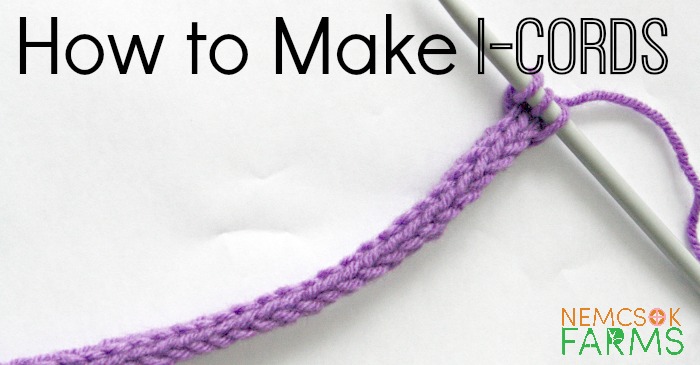
- Again, slide those stitches down to the other end of the needle, and again bring the working yarn from the last worked stitch around back, and ready to knit those three stitches.
- Repeat until you have the desired length of cord.
- Bind off and it’s ready for your project
The Perfect Project for Your Newly Acquired Skills
Head on over to this tutorial for a Super Duper Easy DIY Trivet – and while you’re looking around, don’t forget to join the Nemcsok Farms Knitting Club on Facebook to connect with other knitters!


0 thoughts on “Make an I-Cord”