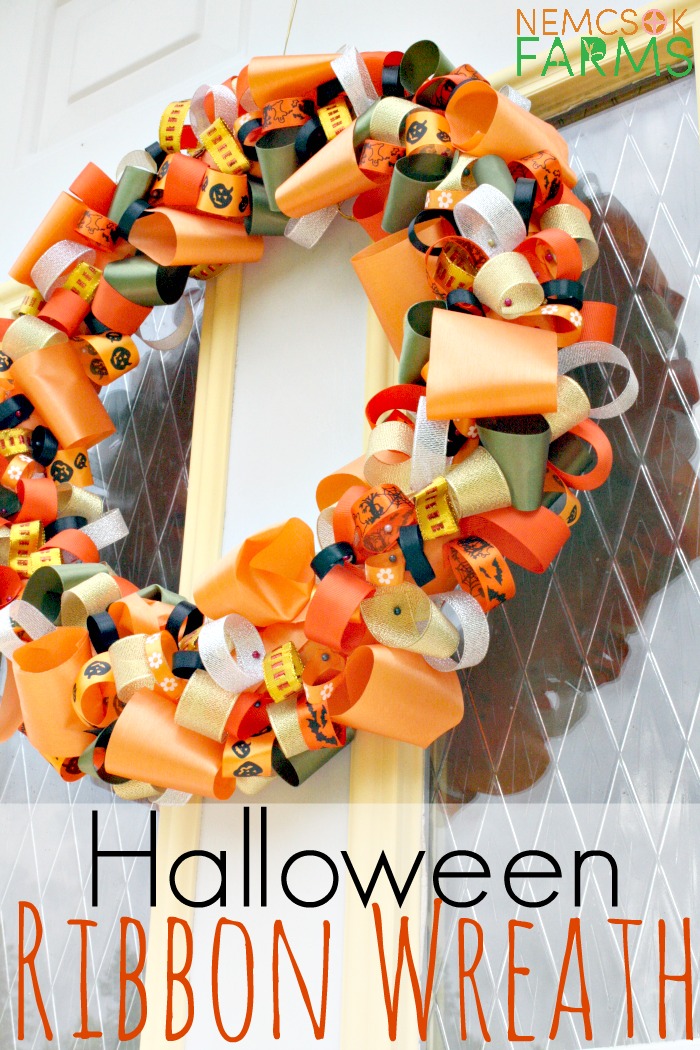
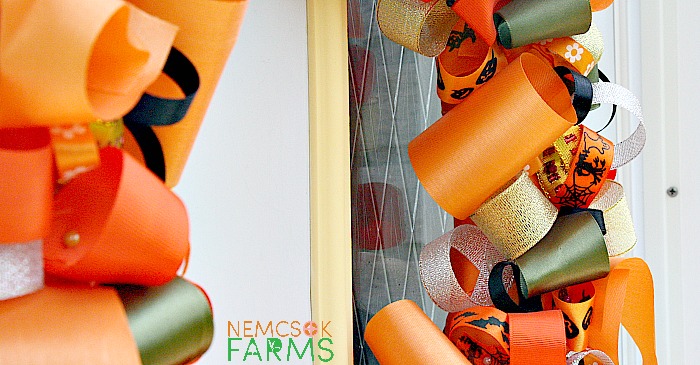
A fun and easy way to spruce up your front door this Halloween – try this DIY Halloween Ribbon Wreath.
For your convenience this post contains affiliate links ( where to get the stuff )
I like to keep the Halloween decor a little more fun and friendly, and a little shy of creepy. Maybe that will change as I mature, grow up and get older – but until then, it’s happy Jack O’Lanterns and cookie monsters for me.
DIY Halloween Ribbon Wreath Tutorial
Materials:
- Circular styrofoam wreath form
- A long piece of tulle or wide ribbon
- Lots of ribbon. For this wreath I used all oranges, greens, a couple blacks, and anything I could find that had something Halloween-y on it
- Straight pins. Lots of them
- Elastic Cord
Directions:
Before we get started, I wanted to share photos of the steps along the way. The photos I am sharing are from a ribbon wreath I made for a baby shower door prize – so the ribbon is not the same, but the method is. Also, the photos are old, were taken in not so great light, but get the point across.
- Cut a piece of elastic cord, 5 – 8 inches long
- Secure that cord around the wreath form
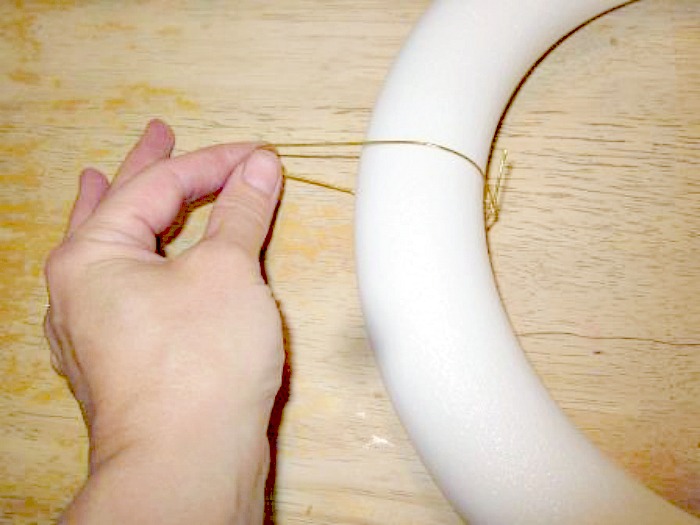
- Wrap the wreath with the tulle or wide ribbon, overlapping as you go, so that you cover all of the white space
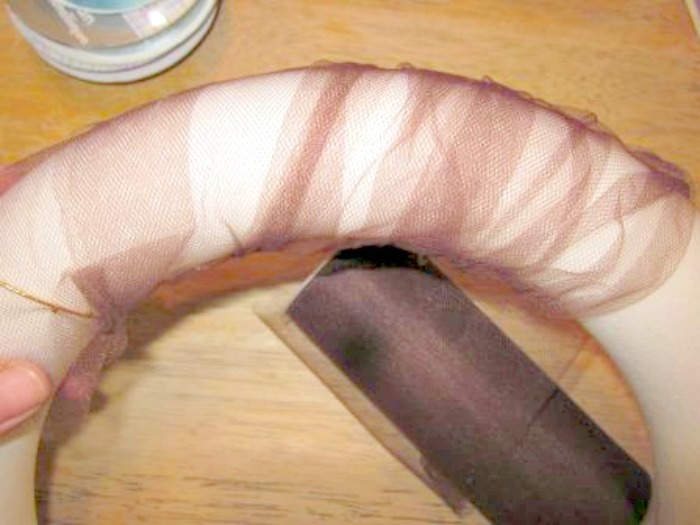
- Be sure to secure your elastic cord while wrapping, but leave the top of the elastic cord loop free ( this is how you will hang your wreath
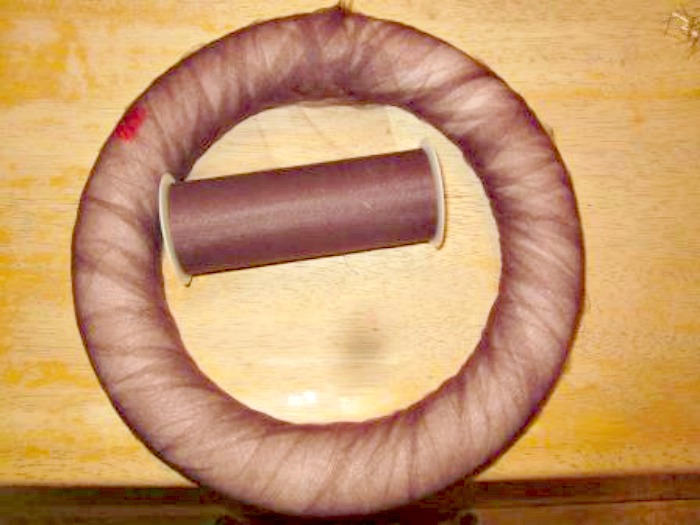
- Cut your ribbon to 3 inch lengths
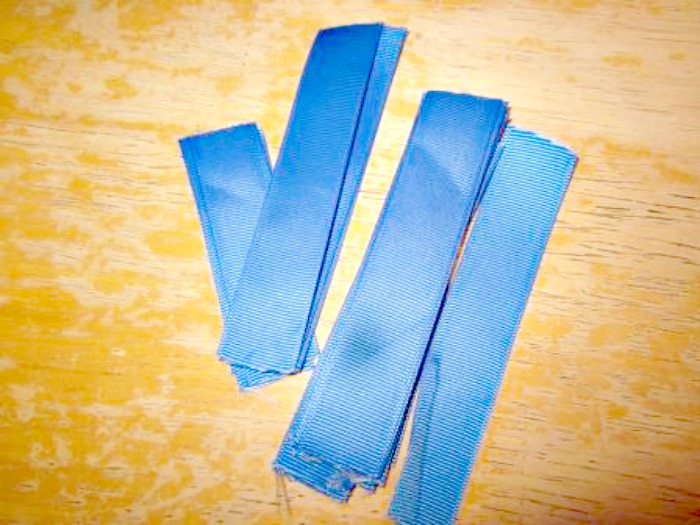
- Fold ribbon into loops, and secure the loops to the wreath form with pins
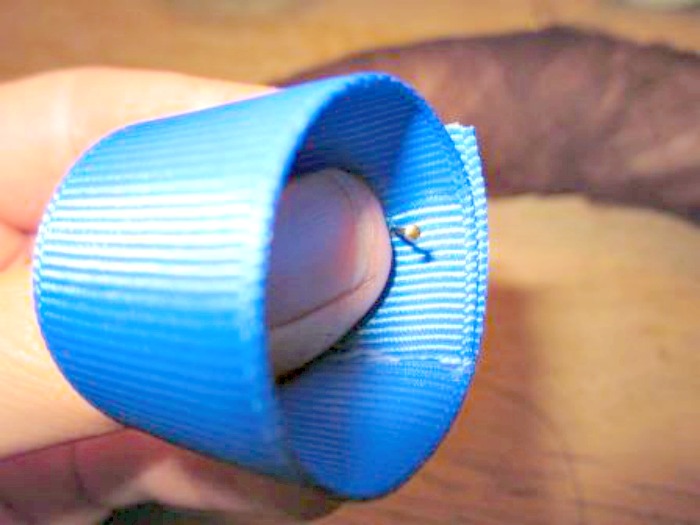
- Pin the loops to the wreath in a random order, or a pattern, depending on your preference. Fill in all the gaps with ribbon loops. Be sure to cover the front, inside of the circle and outside of the circle, but not the back of the circle. Leaving the back free of loops will allow your wreath to site nice and flat against your door
Happy Halloween

