Simply put, knitting would not be knitting, where it not for the knit stitch.
The other day we started talking a little big about the fundamentals of knitting, and how you need to start with a foundation. Now that you have mastered the foundation, or Casting On, it’s time to start building.
Creating the Structure
There are four basic techniques you need to know in order to knit. First, what we talked about the other day, is you need to know how to cast on. There are several different ways to accomplish this, but my favourite method is the sling shot method, also called the long tail method. I shared a pretty good tutorial on How to Cast On in Part 1 of the How to Knit Series.
The other skills you need to know are how to make a Knit Stitch, a Purl Stitch and how to Bind off. You could in theory get by with only knowing how to knit, or how to purl, but usually it’s the combination of the two that bring you some wonderfully shaped garments, with great texture. The different ways of combining the knit and purl stitches determines things like elasticity, fit, texture and style. I’ll go into that in more detail after we’ve worked through these four basic skills.
The Knit Stitch, although potentially awkward to start with, gets really easy and really comfortable once you get going.
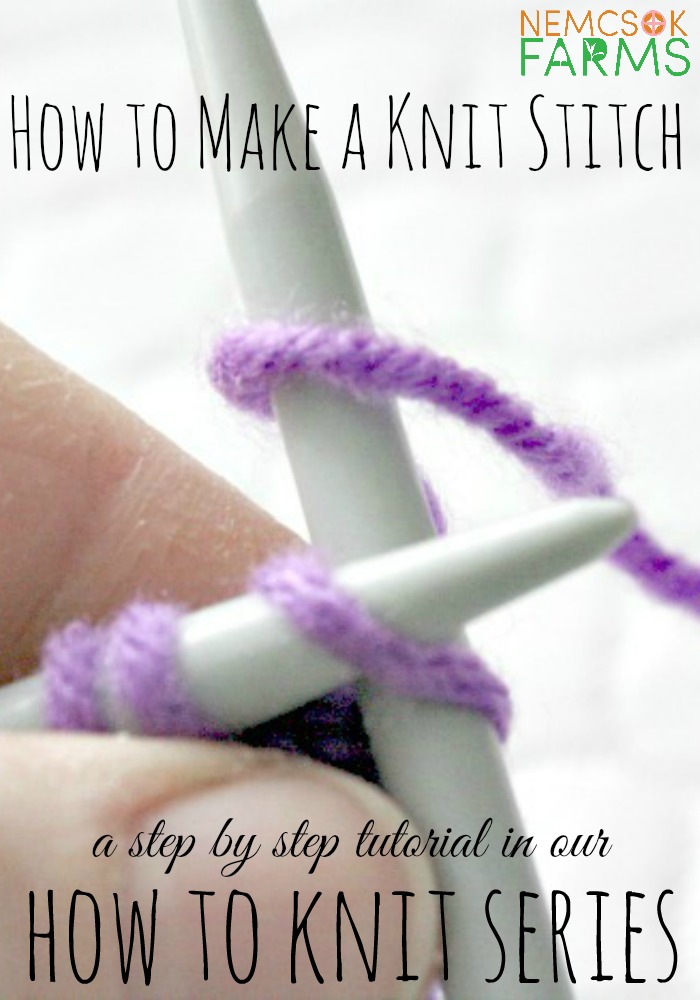
How to Make a Knit Stitch
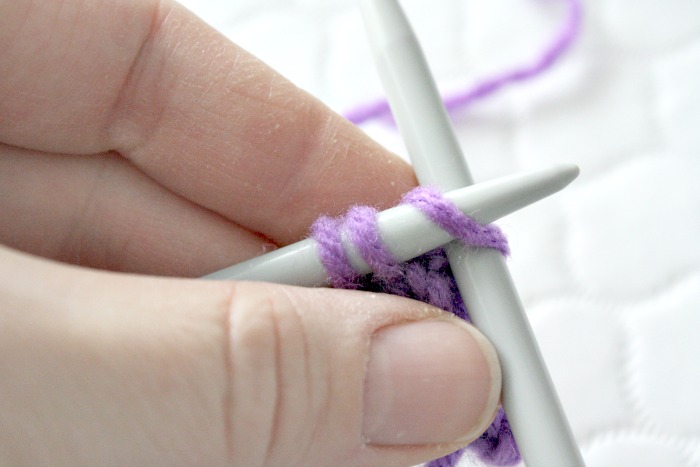
- Hold the needle with the cast on stitches in your left hand.
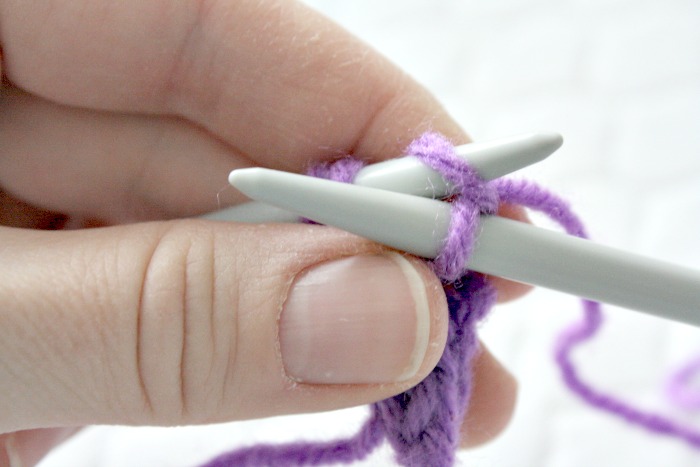
- With the empty needle in you right hand, and the working yarn behind your needles, insert the right needle in to the stitch you are going to knit from left to right.
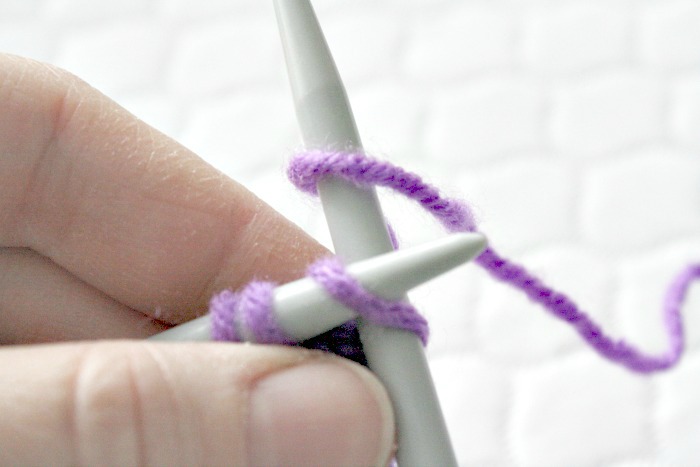
- Bring the working yarn beneath the right needle and between the needles from back to front, wrapping the working yarn around the right needle – this is your new stitch
- Bring the needle and the new stitch down toward you and through the old stitch. You will have the new stitch on the right hand needle,
- … and you will slip the old stitch off of the left hand needle.
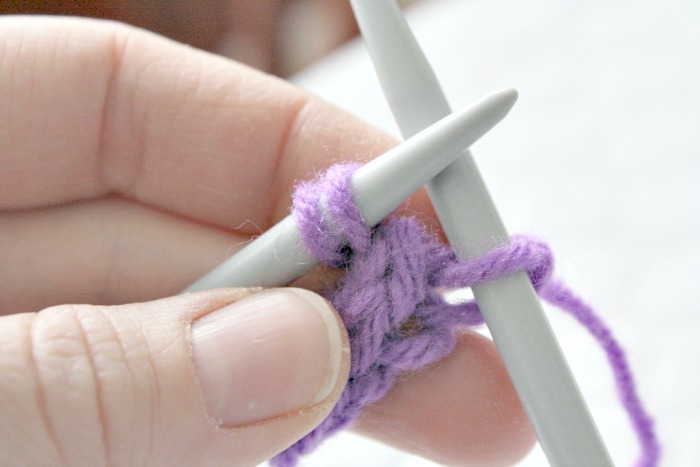
- Tighten it a little bit, and voila! You’re ready to knit the rest of the stitches.
PRACTICE THE KNIT STITCH
With these patterns that are perfect for beginners, like the I-Cord Tutorial , or the DIY Rainbow Scarf.
If you’re looking for more – join our group Knitting Community – a community of people who love to knit.
We’d love to have you!
USE THIS VIDEO TUTORIAL TO SEE HOW IT’S DONE
Ready for more projects? You’re going to want to get a copy of my Ebook –
Super Duper Knit Hats for Beginners

And now, you’re ready for the Purl Stitch. What are you waiting for… click on through 🙂
Thank you so much! I needed a refresher it’s been years since I last tried to knit and your tutorials are perfection. Can’t wait to finish my new sweater project.